“Alright, Pops, since we didn’t pack headlamps, we better high tail it back home before it gets too dark.”
“Just a sec. Let me get these two right here…”
“You always have to try to rub it in don’t ya?!? My back is getting tired from my stash here….Aghhhh…Hurry, before it gives out!!!”
“That reminds me of a time when…” he segues (the standard headline one of his 7,899 stories that I’ve heard for the 127th time that, no matter how far we are away from home, it’ll finally finish when we pull into the driveway).
**This is a good time to hit the fast forwarded button through his story and our commute back to his house**
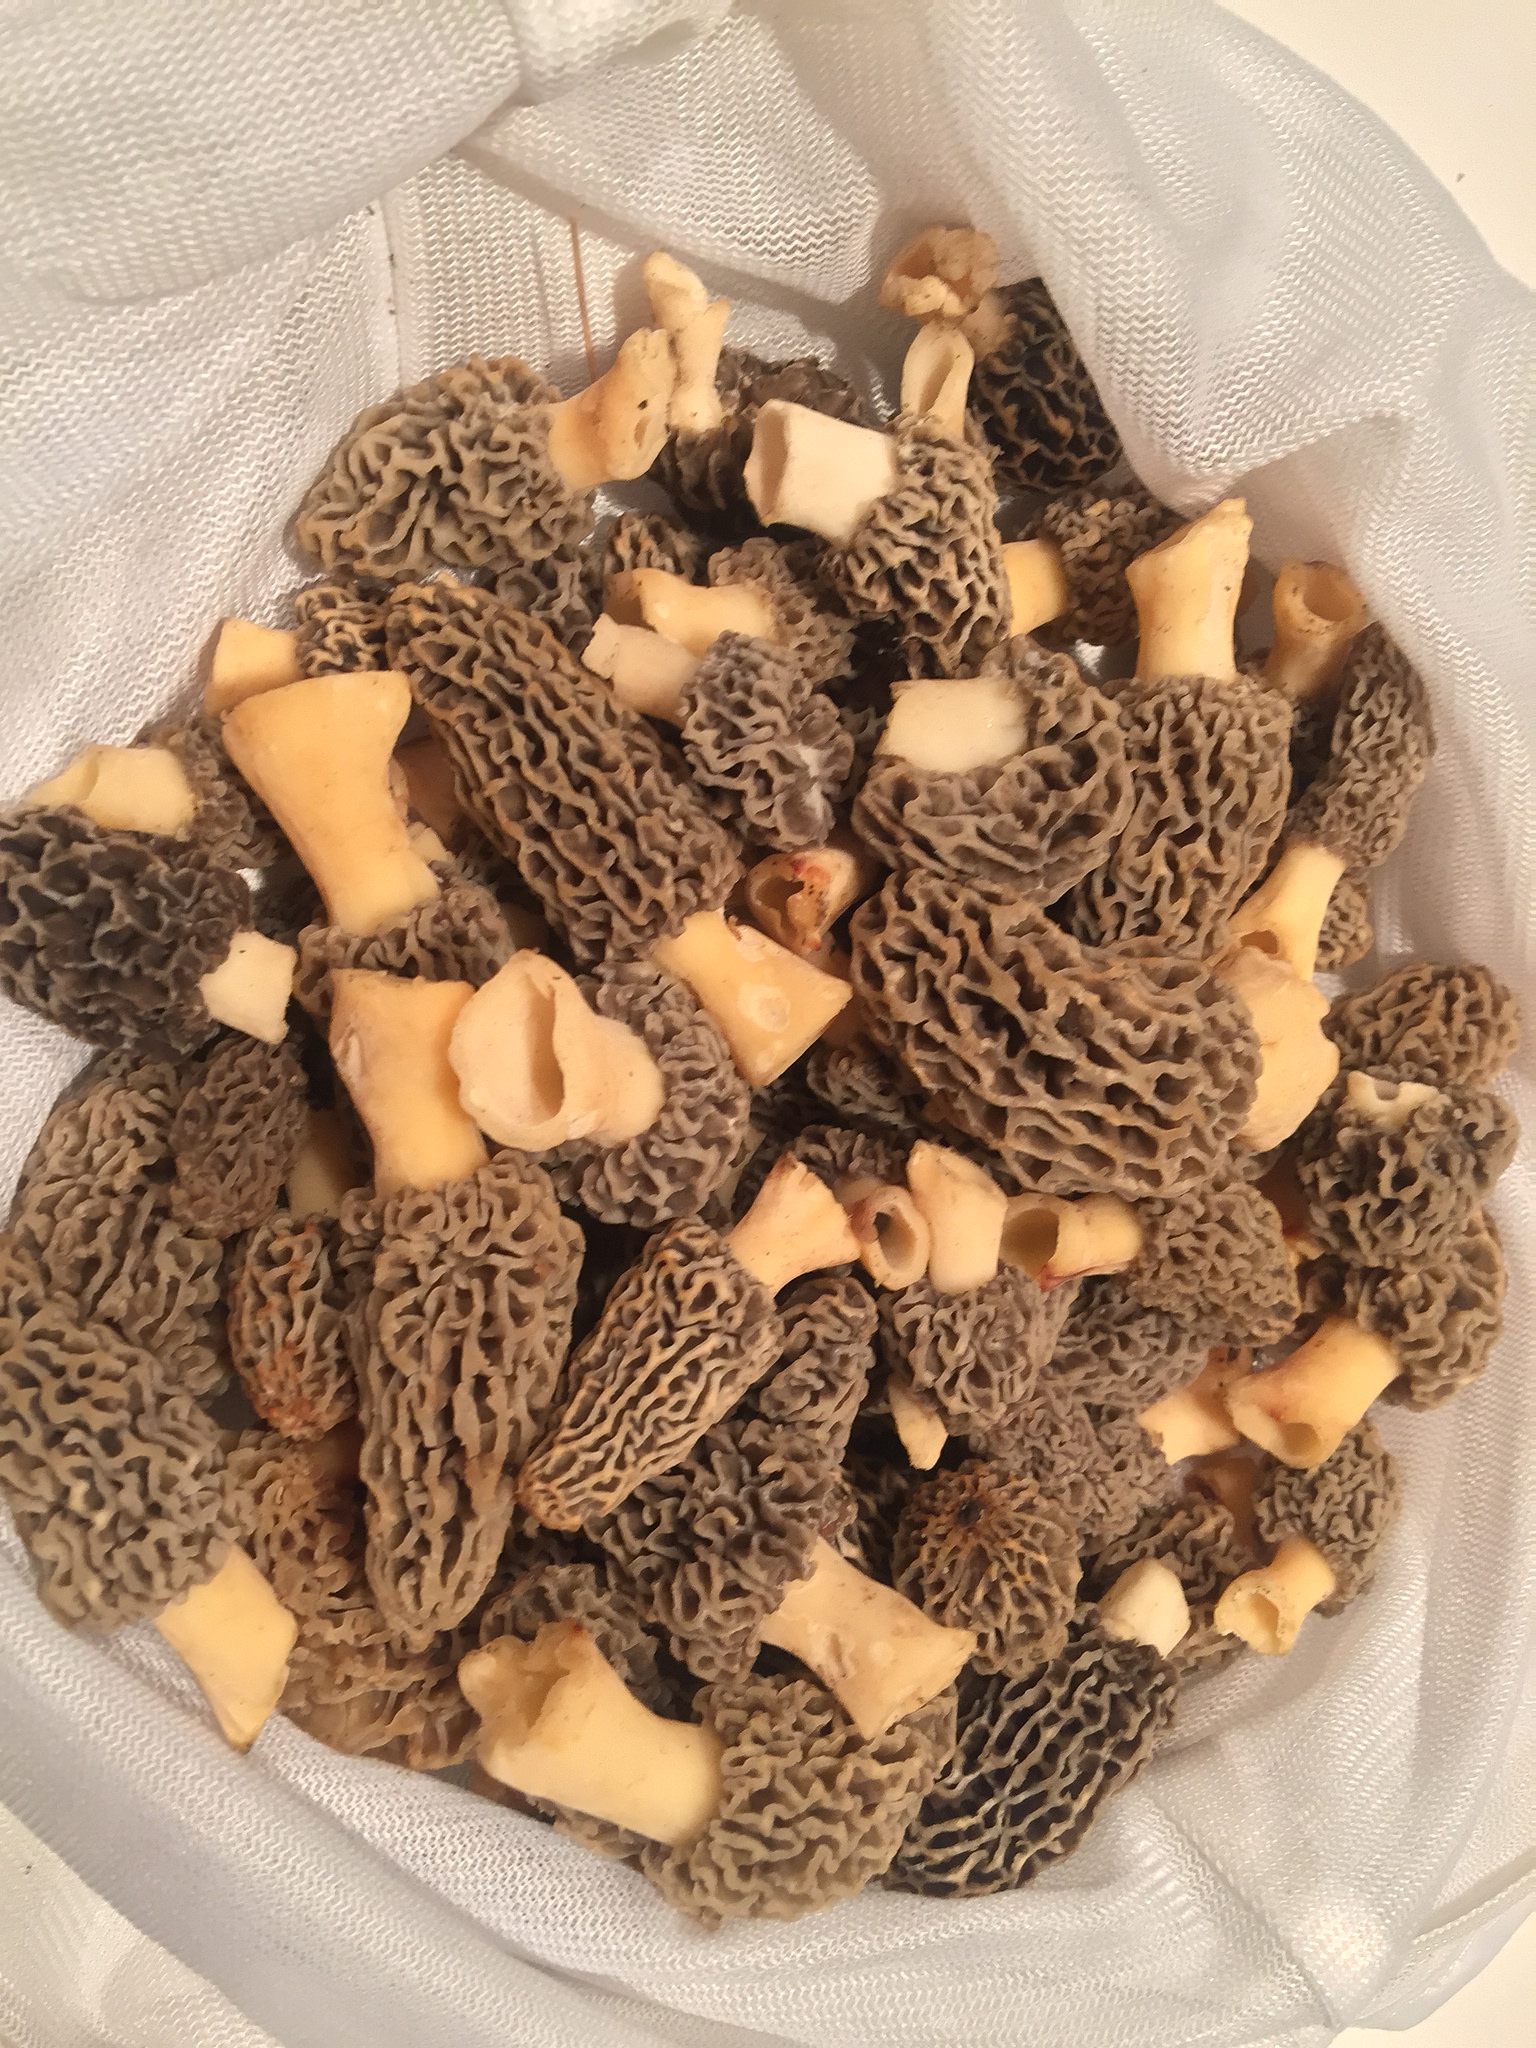
We carefully place our morel harvest on the island in the kitchen and chat for an hour rehashing little anecdotes about some of our favorite finds. If you’re at this point, stop and give yourself a pat on the back, take a big breath, and enjoy the spoils laying in front of you. There’s just a little work you’ll need to do to get them ready for cooking. It’s now Preparation Time!!
Instead of just putting them in a bag and tossing them in the fridge for later, we do all the prep work beforehand. The main reason is to get any bugs that may be taking shelter in them. Secondary is that it is kind of a process, so getting it done now means less of a demand on you when you’re cooking them up. My recommendation is that while you have them in front of you get them prepped by doing the following:
What You Need:
- Large bowl(s)
- Salt
- Water
- Paper Towels
- Colander or strainer
- Knife
- Cutting board
Process:
- Drop about a tablespoon or two of salt in on the bottom of a large bowl and add cold water until the level reaches about halfway up. Give it a good stir and taste it. At minimum it should have the salt consistency of ocean water.
- While the water is going, go ahead and give the stem of each morel a quick clean if you see debris on any.
- Place them one by one in the saltwater bath by sinking them. When I say sink them, I mean to place them in the water so all the air in their hollow inside comes out – they still will float. I do this to kick out any ant or other little bug that may be in there. Most people cut their morels in half lengthwise at this point before soaking them in water. I prefer to keep them whole so they don’t break up into a bunch of pieces when they get a little water logged in the salt water bath.
- Remove after about 15-20 minutes
**If you’re eating them all right away, cut the big ones in half lengthwise. I don’t half the little ones because they shrink into nothing when you cook them – just be sure beyond a shadow of a doubt that if you go this route, it’s actually a morel instead of poisonous false morel. Enjoy the spoils! If you want to keep some for later follow the next few steps:
- Place them, side by side, on paper towels (do not pile them on top of each other…they’re frail and will break easily from being water logged)
- After about 20 minutes flip them to allow the other side to dry a bit
- While you’re waiting, rinse/clean your mesh bag in the kitchen sink and dry it
- After another 20 minutes, delicately put the morels back in the mesh bag and place in a colander or strainer
- Refrigerate 5-10 hours, flipping the bag once (this helps dry and toughen them a little so they keep longer)
- Place in a Tupperware with the lid cracked and they should keep for about a week
- When you’re ready to cook them, cut in half lengthwise
Speaking of cooking, stay tuned for some great recipes for morels and some other mushrooms you may come across in the woods. Once you chomp down on some at the dinner table, you’ll want to get back in the woods again as fast as Speedy Gonzalez dashes to cheese!