“Alright, where on earth do we start, Pops?” I asked. “From the countless hours spent googling them, I’m kind of at a loss. Most are insightful but also ambiguous…I don’t blame them since scientists can’t even figure them out. Pretty much all of the sites recommended looking for dead trees (specifically oaks and elms),” I continued…
It doesn’t take a rocket scientist to know that dead trees are commonplace in the woods. Well, the blind lead the blind for a couple hours. It must have been hilarious for all the flies on the trees to see us dink around looking at the ground for so long. Nearing our wits end, we both sighed took a break next to a patch of standing dead elm trees on the side of a hill overlooking a lake. There, we discussed our sanity:
“What the heck are we doing out here?” I spouted out.
“I donno…” my dad replied.
“Well, with all this effort I was hoping to at least see a bear actually take a crap in the woods,” I jokingly chided.
A few more sarcastic comments back and forth later and my pops gave some chuckles and looked down at his feet.
The next moment he slowly raised his left hand. The look on his face was like he had a 180 class buck right under his tree stand. He slowly moved his right hand and pointed.
“Got one!” he jumped.
“Whatev Pops, let’s get the heck out of here.” I retorted.
“No, seriously, look.”
Lo and behold we found one. And then another. And another. And another…
Of all places why there?
Well, obviously it was ideal for many reasons – we just didn’t know at the time. Each reason worked in harmony. The main drivers key for any living organism’s survival are water and food. In this case, we were on a hill where moister drains down into the lake below: water. The dead matter was a clump of dead elm trees: food. Find these elements in conjunction and your percentage to actually finding them increases.
Instead of just walking out into the woods blindly looking for a needle in a haystack, let’s first plot some things out. Morel season is short. It also can be pretty competitive if you have others harvesting in the same woods as you. Just like you would with other forms of hunting and fishing, scouting is essential. If you’re new to the sport, scouting is a means to get to know the woods quickly. Time is of the essence; the more you know about the woods you walk, the more efficient you’ll be when it’s prime time. Consider the following rules when you’re planning on going moreling.
Rule #1: Plot where you’re going
Go on Google Maps to get an aerial image / birds eye view of the land you’ll be looking. Focus primarily on woods that butt up to water sources (creeks, rivers, swamps, and lakes). Drop a pin if your using a smartphone, GPS, and/or trace out the woods from your smartphone in your Field Notes notepad marking key areas to focus on.
Rule #2: Stick to remaining on trails
Deer trails are your best friend. Morels can be in some nasty, thorn infested woods. Trust me, you’ll get your fair share of scratches. There’s no need to jump in like you would in the grouse woods – you’ll look like you wrestled a few bobcats if you do. The trails will help you cover much more ground and see out in the distance better. While you’re on the trails, keep an eye out for the next few rules.

Rule #3: Hills are your friend
They’re natural drains. This generally translates to mean there’ll be moisture trickling down them to provide more ideal soil conditions. Whether you have a contour map or just eye ball it when you’re out in the woods, work hills from the bottom up (you’ll naturally get a better eye angle looking up into the forest floor than if you were looking down where leaves and other foliage can mask you finding them). Most of the morels will be at the bottom or actually on the hill. You may find a few kickers at the top of the hill, but those are usually few and far between. Pay no special respect to hill grade; I’ve worked some steep hills and ones that are more gradual with equal success.
Rule #4: Don’t look for morels, look for trees
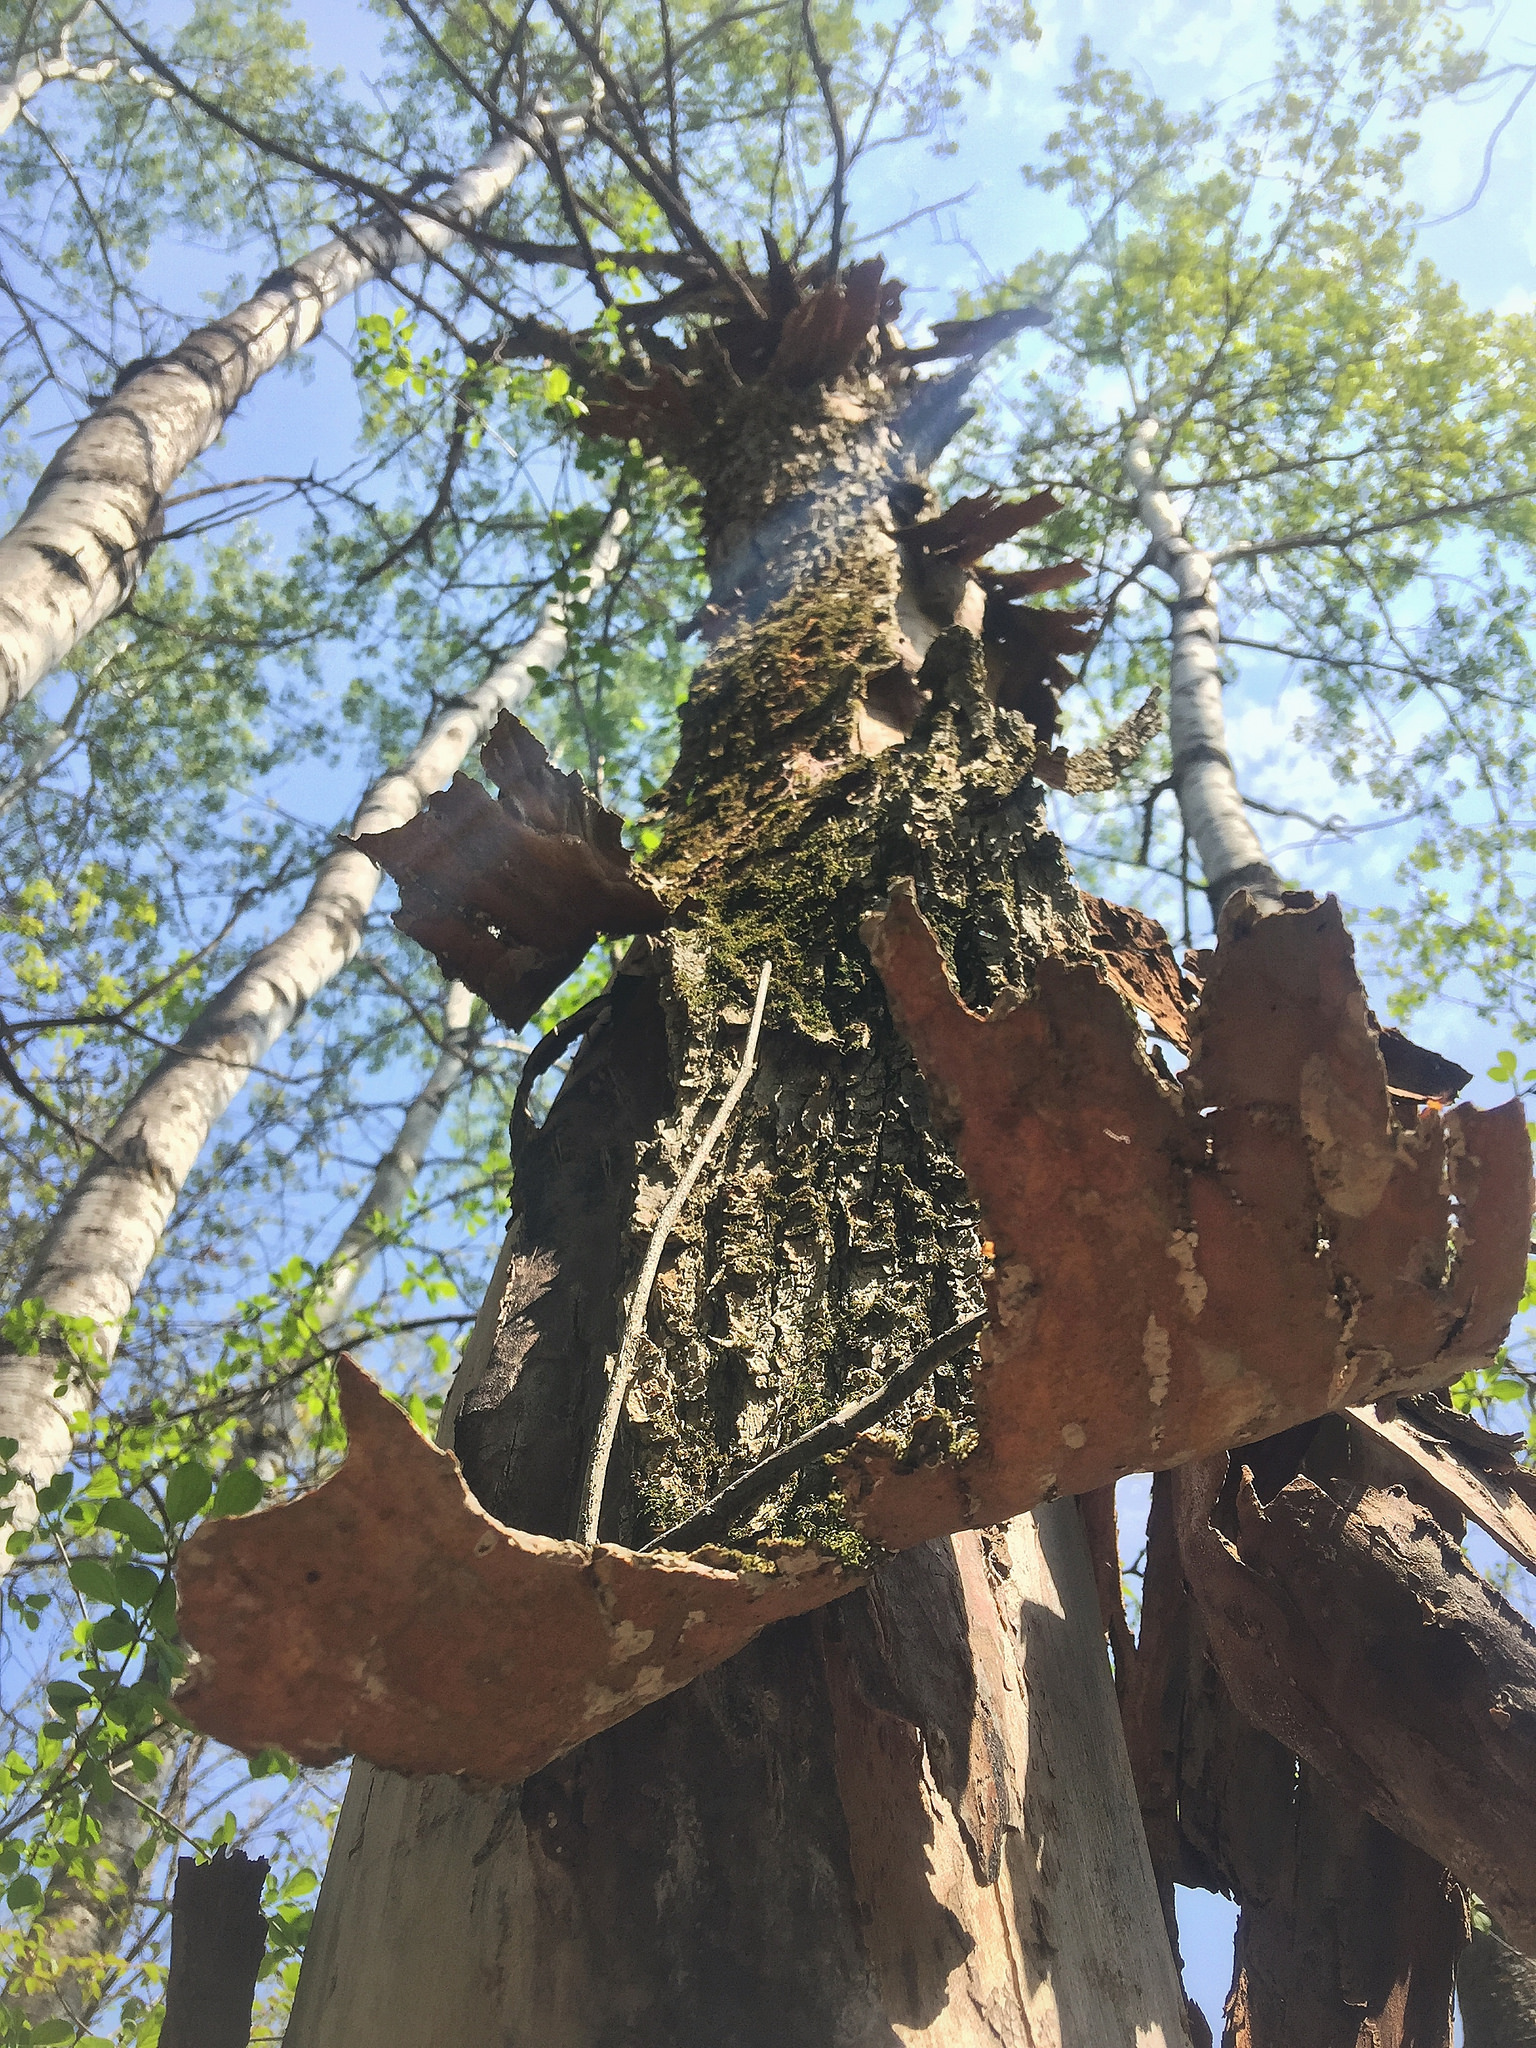
This is the most important rule. You’ll be looking for a needle in a haystack if you do. Instead, look for specific trees. The bread and butter ones for me are elm trees. Taking it a step further, look for standing, dead elms with their bark beginning to peel off the trunk. Yes, it may be hard to identify trees in early spring where they don’t have leaves yet. You can, however, identify most by just studying their bark. It’ll take a little bit of time, but be patient, you’ll get an eye for them quick enough. For the most part, they’re one of the very few trees that’ll remain standing long after they’re dead. Like a snake shedding its skin, so is what it looks like with bark peeling off of a dead elm tree. You’ll also notice that their bark comes off in chunks that scatter on the forest floor. A prime example is this “Mother Elm” (as I call it):

Rule #5: The more elms, the merrier
Chances are if you find one standing, dead elm, you’ll find more around in the area. Your highest percentage of finding morels is where there are multiple dead elms in a 10 to 15 foot radius. Mark these areas on your smartphone or the traced out map in your Field Notes.
Okay, now that you understand the woods, now let’s take a look at how to actually find the little guys in the next section:
MicroMoreling: The Art of Seeing Morels
3 thoughts on “MacroMoreling: The Art of Understanding the Woods”